
Peach Pie

Those sunny, warm days call for something truly delightful. There’s something special about Peach Pie that makes it a comforting treat. With its sweet, juicy peach filling nestled between two layers of flaky crust, each slice tantalizes your taste buds. The flavors blend seamlessly, providing a delicious balance of sweetness with a hint of tartness. There’s nothing quite like this homemade dessert to savor during summer picnics or family gatherings—it’s an experience instead of just dessert!
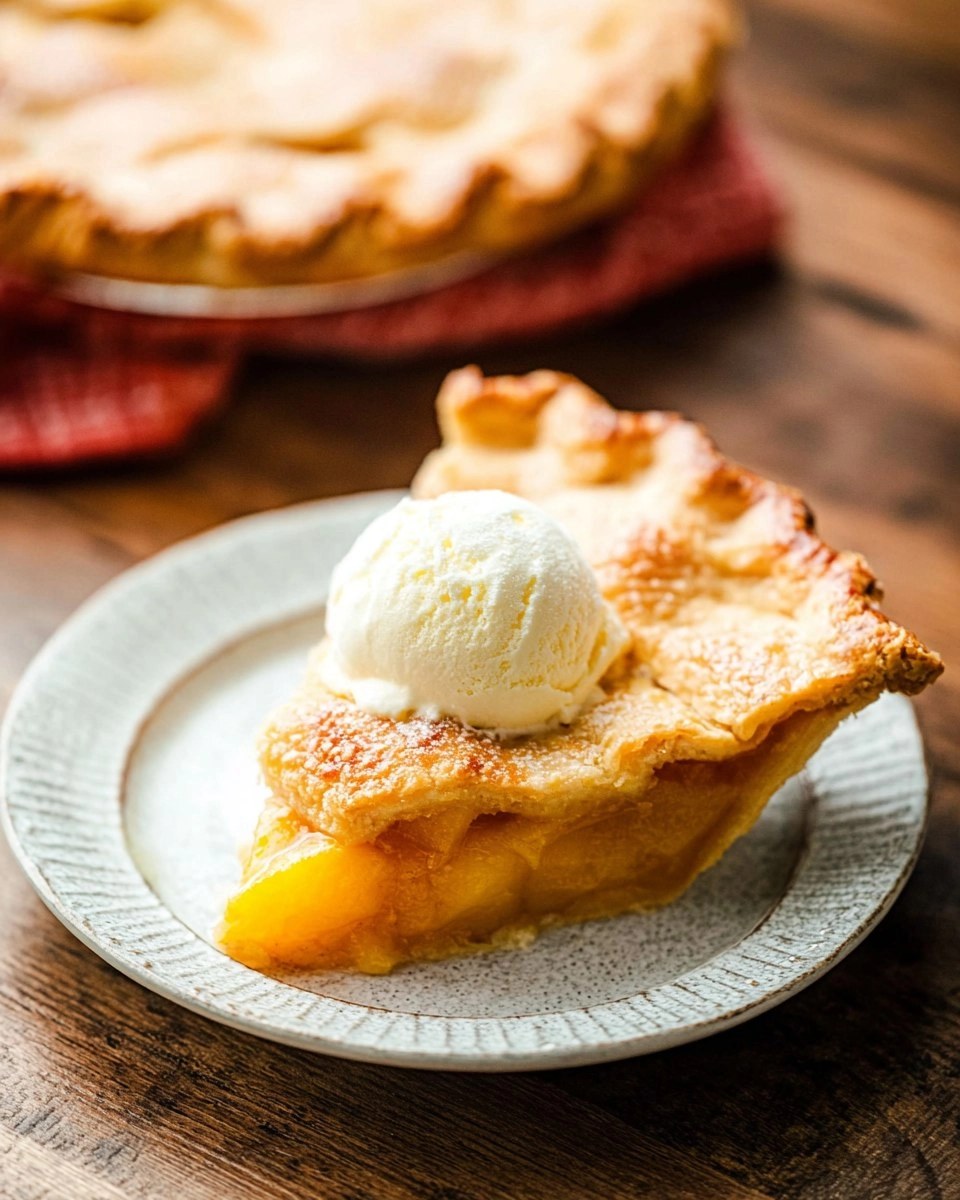
I first encountered Peach Pie at my grandma’s house. She’d whip it up effortlessly, filling the kitchen with the scent of baking peaches and a hint of cinnamon. Every bite was packed with nostalgia, reminding me of lazy summer afternoons spent outside. Now, I cherish recreating her classic recipe, especially when ripe peaches are in season. This Peach Pie isn’t just a recipe to follow; it’s a celebration of flavors and memories! I can’t wait for you to get baking!
Table of Contents
Why You’ll Love This Recipe
- Simple & Quick: You can whip up this pie in just 10 minutes for prep, making it a hassle-free choice for dessert.
- Irresistible Flavor: With fresh peaches and a hint of sugar, this pie is a burst of sweetness with every bite.
- Eye-Catching Appeal: The golden crust and shimmering peach filling make it a showstopper at any gathering or family dinner.
- Flexible Serving: Perfect for dessert or even as a delicious breakfast treat alongside coffee!
- Diet-Friendly Options: You can easily substitute fresh peaches with frozen or canned, while gluten-free crusts are a simple adaptation.
Ingredients You’ll Need
- 2 unbaked pie crusts: Choose your favorite store-bought or homemade version; both yield delicious results.
- 6 cups fresh peaches (peeled and sliced): Fresh peaches bring the best flavor. If they’re out of season, you can use frozen peaches (thaw and drain excess liquid).
- 1 ½ cups granulated sugar: This sweetener is key to enhancing the natural flavors of the peaches, but adjust based on your taste preferences.
- 2 tablespoons minute tapioca: Adding this helps thicken the filling, ensuring you won’t have a soupy pie. Cornstarch is a good substitute if you dislike tapioca.
- Heavy cream and sugar for topping: Brushing the crust with this adds a delightful golden finish.
How to Make Peach Pie
- Preheat the Oven: Start by preheating your oven to 375 degrees Fahrenheit. This ensures the pie cooks evenly.
- Prepare the Peach Filling: In a large bowl, combine the sliced peaches, granulated sugar, and minute tapioca. Toss gently until the peaches are well coated. Allow this mixture to sit for about 10 minutes; it helps the flavors meld beautifully.
- Assemble the Pie: Line a 9-inch pie plate with one pie crust. Spoon the peach filling into the crust, spreading it out evenly.
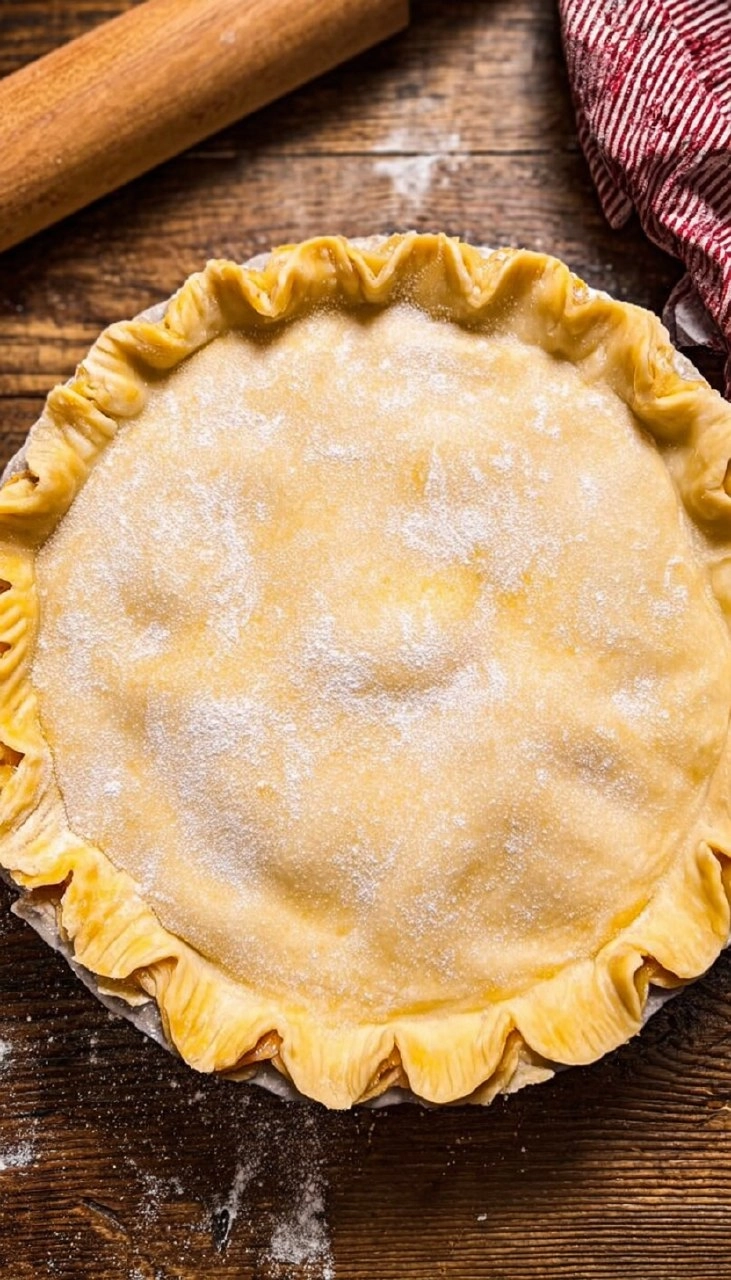
- Top the Pie: Place the second crust over the peach filling. Press the edges together with the bottom crust, trimming any excess crust, leaving about ½ inch around the edges. Flute the crust for a charming finish.
- Vent and Brush: Cut several slits in the top of the crust to allow steam to escape while baking. If desired, lightly brush the crust with cream and sprinkle a little sugar on top for added sweetness and shine.
- Bake the Pie: Place the pie in your preheated oven and bake for 45-60 minutes, or until the crust is golden brown, and you can see the filling bubbling around the edges.
- Serve: Once cooled slightly, serve your peach pie with a scoop of vanilla ice cream if you’d like—it’s a match made in heaven!
Storing & Reheating
To store your Peach Pie, let it cool completely before placing it at room temperature for up to 2 days. For longer storage, refrigerate the pie in an airtight container, lasting up to 5 days. If you prefer to freeze it, wrap the pie in plastic wrap and store it in a freezer-safe container, enjoying it for up to 3 months. When you’re ready to enjoy it again, simply reheat in a preheated oven at 350 degrees Fahrenheit for about 15-20 minutes until warmed throughout. Note the filling may be a bit juicier after thawing, but a quick reheating will refresh the crust!
Chef’s Helpful Tips
- Avoid overmixing the peach filling; it should be gently combined to prevent mushiness.
- Use room temperature butter if making your crust; cold butter helps achieve high, flaky layers.
- Let your pie cool before slicing. This allows the filling to set properly.
- Want to add a twist? Consider adding a splash of lemon juice or a dash of cinnamon to your peach filling for extra flavor.
- If you like a thicker filling, increase the tapioca to 3 tablespoons.
Though this Peach Pie captures the warmth of summer in every slice, it also invites experimentation. The balance of sweet and tart from the peaches can inspire different variations, like adding berries or using a crumb topping. The beauty of this recipe lies in its flexibility—feel free to swap ingredients and make it your own.
Recipe FAQs
Can I use canned or frozen peaches for this pie?
How do I know when my pie is done baking?
Can I make this pie ahead of time?
What can I serve with Peach Pie?
⭐ If you make my Peach Pie recipe, Awesome! I would love to hear from you. Please give it a star rating and review below! 👇

Peach Pie
This delicious Peach Pie features a delightful blend of sweet, juicy peaches and a perfectly flaky crust. It’s an easy dessert that’s sure to impress at any gathering!
- Prep Time 10 minutes
- Cook Time 55 minutes
- Yield 8 servings 1x
Ingredients
- 2 unbaked pie crusts
- 6 cups fresh peaches peeled and sliced
- 1 ½ cups granulated sugar
- 2 tablespoons minute tapioca
- Heavy cream and sugar for topping
Instructions
- Preheat the oven to 375 degrees Fahrenheit.
- In a large bowl, combine the sliced peaches, granulated sugar, and tapioca.
- Line a 9-inch pie plate with one of the pie crusts and fill it with the peach mixture.
- Cover the peach filling with the second crust, pressing the edges together and trimming the excess to leave about ½ inch around the edges. Flute the crust as desired.
- Create several slits in the top crust to allow steam to escape. Optionally, brush the top with cream and sprinkle sugar if desired.
- Bake in the preheated oven for 45 to 60 minutes until golden.
- Serve warm, optionally with ice cream.
Notes
Ensure the peaches are ripe for the best flavor.
Feel free to adjust the sugar depending on the sweetness of the peaches.
Making the crust homemade or using store-bought both work well.
Nutrition
- Serving Size: 1 slice
- Calories: 350
- Sugar: 28g
- Sodium: 150mg
- Fat: 14g
- Saturated Fat: 8g
- Unsaturated Fat: 5g
- Trans Fat: 0g
- Carbohydrates: 54g
- Fiber: 2g
- Protein: 2g
- Cholesterol: 40mg
Nutritional information is an estimate. The nutritional values for your final dish may vary based on measuring differences and products used.