Cheez-Its

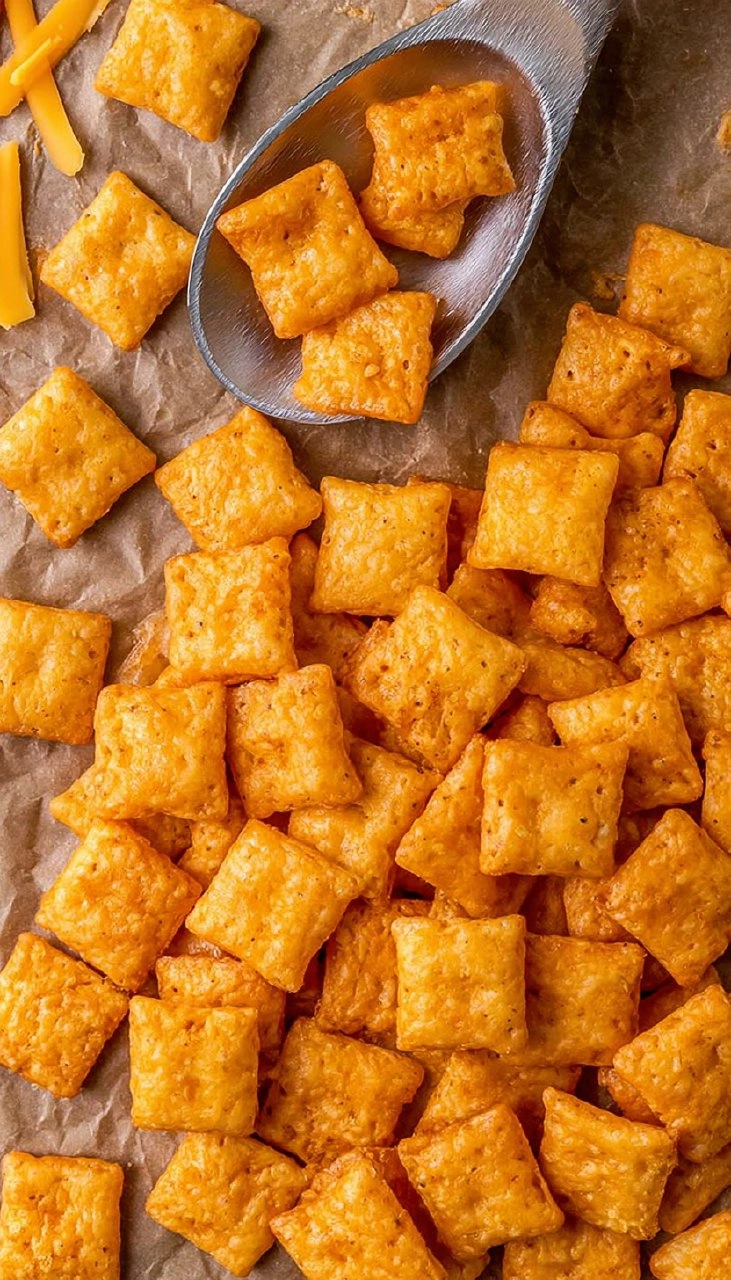
Homemade Cheez-Its are an irresistible snack that captures the essence of cheesy goodness in every crunchy bite. The rich, sharp cheddar flavor harmonizes perfectly with the buttery texture, creating a little rectangular piece of heaven. Each cracker is golden and crisp, evoking fond memories of childhood snacking and the satisfaction of homemade treats. You may find yourself reaching for these more than you’d ever expect, especially once you realize just how simple it is to whip up a batch in your kitchen.
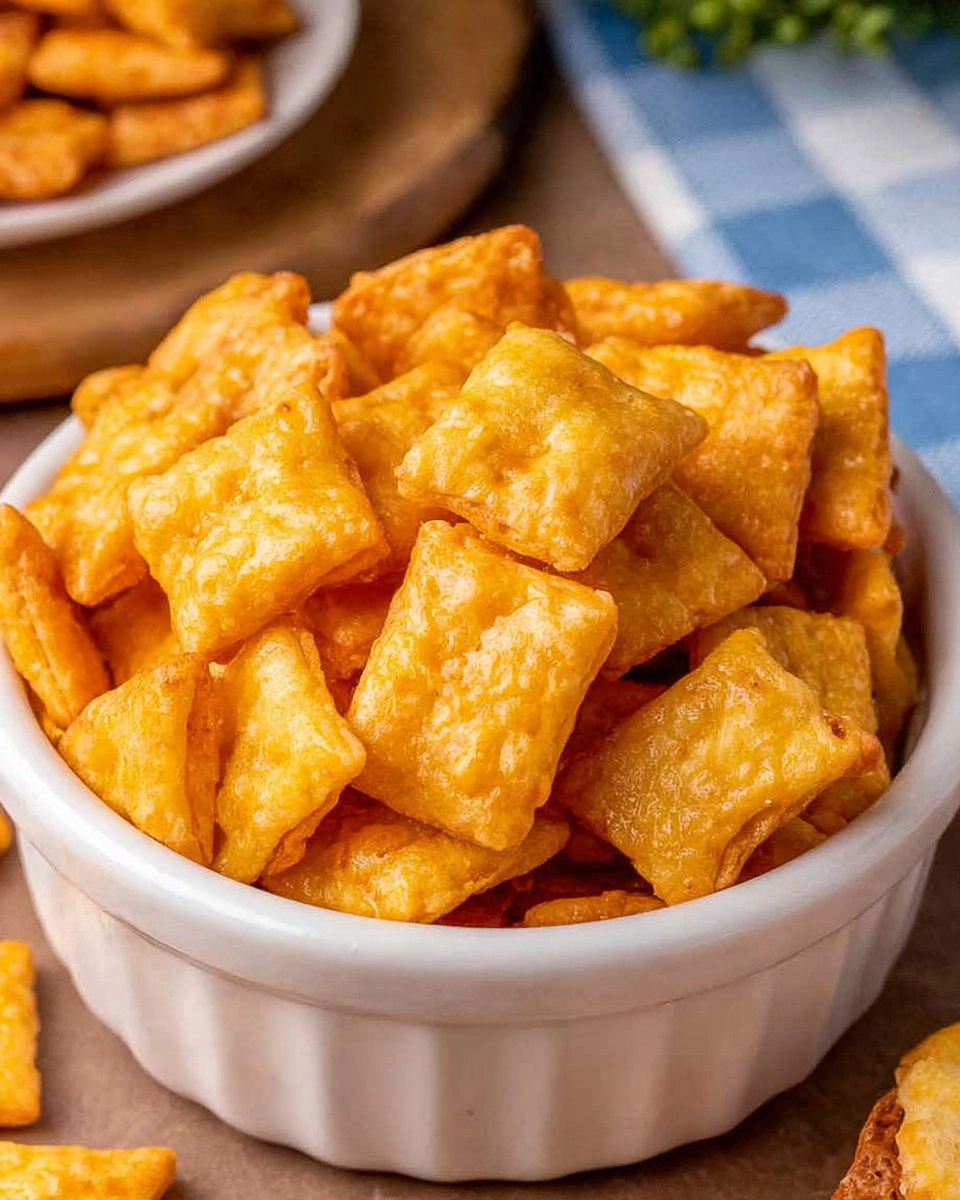
When I first made these cheesy morsels, I was taken aback by their incredible flavor and ease. Gone are the days of settling for store-bought versions packed with preservatives and unrecognizable ingredients. With just a handful of pantry staples, you can have a batch of Homemade Cheez-Its ready in under two hours. Gather your ingredients and roll up your sleeves; this is a culinary adventure that you’ll want to undertake time and time again.
Table of Contents
Why You’ll Love This Recipe
- Simple & Quick: In just 20 minutes of prep and under two hours total, you can have a delicious snack to enjoy.
- Irresistible Flavor: The perfect blend of sharp cheddar and a hint of garlic gives these crackers a taste that’s hard to resist.
- Eye-Catching Appeal: These cute, hand-cut crackers make a delightful addition to any snack table or party platter.
- Flexible Serving: Perfect for parties, movie nights, or just a cozy evening at home, they fit any occasion.
- Diet-Friendly Options: With a few adjustments, such as using gluten-free flour, you can easily cater to dietary preferences.
Ingredients You’ll Need
8 ounces sharp cheddar cheese, shredded
This is the star of the show, providing that necessary cheesy flavor. Go for sharp cheddar for a more robust taste. Mild cheddar works too, but won’t deliver the same depth.4 tablespoons salted butter, softened (1/2 stick)
Butter adds richness and helps create that delightful crisp texture. If you prefer, you can substitute with unsalted butter, but remember to adjust the salt.½ teaspoon salt, plus more for sprinkling, if desired
Salt enhances the flavor of cheese and balances the richness of the butter. You can add a pinch more to the surface before baking for that extra touch.¼ teaspoon garlic powder
This adds a subtle kick that elevates the overall flavor profile. Don’t skip this! If you prefer, you could omit it for a more straightforward cheesy experience.1 cup all-purpose flour
Flour is the backbone of the dough, providing structure. If you’re looking for a gluten-free version, substitute with an all-purpose gluten-free flour blend.2-3 tablespoons ice water, as needed
This helps bind the dough together without making it too sticky. Start with less and only add more as necessary.
How to Make Cheez-Its
Mix Cheese and Butter: In a food processor, combine 8 ounces shredded sharp cheddar cheese, 4 tablespoons softened salted butter, ½ teaspoon salt, and ¼ teaspoon garlic powder. Pulse until the mixture is well blended and creamy.
Add Flour: Gradually add 1 cup all-purpose flour to the cheese mixture. Pulse again until it looks like coarse sand – you want it to resemble crumbly bits.
Form the Dough: Drizzle in 2-3 tablespoons ice water, one tablespoon at a time, pulsing after each addition. Keep going until the dough starts to form a ball. Be careful not to overmix; you want it just combined.
Chill the Dough: Transfer the dough onto a sheet of plastic wrap, shape it into a disc, wrap it tightly, and refrigerate for at least 1 hour. This allows the flavors to meld and makes rolling out easier.
Preheat Oven: When you’re ready to bake, preheat your oven to 350°F (175°C) and line a baking sheet with parchment paper.
Roll Out the Dough: Divide the chilled dough in half. On a lightly floured surface, roll out one half to about ¼ inch thick. Try to maintain an even thickness for uniform baking.
Cut Out Crackers: Use a sharp knife or pizza cutter to slice the rolled dough into small squares, about 1 inch each. Then, poke a hole in the center of each square with the tip of a toothpick or a chopstick.
Arrange and Bake: Set the squares on the prepared baking sheet, leaving a little space between each. Bake for 12-15 minutes, or until they are crisp and lightly golden around the edges.
Cool and Repeat: Once baked, remove the crackers from the oven and allow them to cool completely on the baking sheet. While they cool, repeat the rolling and cutting process with the remaining dough.
Enjoy: Once cool, it’s time to enjoy your crunchy, cheesy homemade Cheez-Its!
Storing & Reheating
Store your Homemade Cheez-Its in an airtight container at room temperature for up to a week. If you need to keep them longer, you can refrigerate them in a sealed container for up to two weeks, though they may lose some crispness. For longer storage, freezing is a great option—just place them in a freezer-safe bag or container for up to 3 months. When you’re ready to indulge, reheat briefly in the oven at 300°F (about 5-10 minutes) to restore their crunch.
Chef’s Helpful Tips
- Keep cheese cold: Ensure the cheddar is well-chilled before grating to make it easier to work with.
- Avoid overmixing the dough: The less you handle the dough, the flakier the crackers will be.
- Experiment with toppings: Try sprinkling herbs, cracked black pepper, or even a cheese blend on the crackers before baking for different flavors.
- Watch the baking time: Ovens can vary, so keep an eye on the crackers. They should be crispy and just lightly browned.
It’s always fun to experiment with flavors and shapes. Remember, the more cheese, the merrier!
Homemade Cheez-Its offer the kind of satisfaction that only comes from creating something delicious with your own two hands. Once you’ve had these, there’s no going back to store-bought! With their crispy texture and cheesy flavor, you might find them your new go-to snack. Let your creative juices flow as you play around with spices or cheeses! Enjoy every crispy bite!
Recipe FAQs
Can I make these Cheez-Its dairy-free?
How can I make these gluten-free?
Can I use different types of cheese?
What should I do if the dough is too sticky?
⭐ If you make my Cheez-Its recipe, Awesome! I would love to hear from you. Please give it a star rating and review below! 👇

Cheez-Its
These Cheez-Its are a delightful snack with a rich cheddar flavor, easy to prepare, and perfect for sharing. Using just a few ingredients, you can create homemade crackers that are irresistibly cheesy and baked to perfection!
- Prep Time 20 minutes
- Cook Time 95 minutes
- Yield 6 servings 1x
Ingredients
- 8 ounces sharp cheddar cheese shredded
- 4 tablespoons salted butter softened (1/2 stick)
- ½ teaspoon salt plus more for sprinkling, if desired
- ¼ teaspoon garlic powder
- 1 cup all-purpose flour
- 2-3 tablespoons ice water as needed
Instructions
- In a food processor, blend the shredded cheddar, softened butter, salt, and garlic powder until well mixed.
- Add the flour and pulse until you achieve a coarse sand-like texture.
- Gradually add the ice water, one tablespoon at a time, and pulse until a dough forms. Avoid overmixing.
- Shape the dough into a disc, wrap it in plastic wrap, and chill for at least 1 hour.
- Preheat the oven to 350°F (175°C) and line a baking sheet with parchment paper.
- Roll out half of the chilled dough to about ¼ inch thick on a floured surface.
- Cut the dough into 1-inch squares using a sharp knife or pizza cutter, and poke a hole in the center of each with a toothpick.
- Place the squares on the baking sheet with space between each cracker.
- Bake for 12-15 minutes until crisp and lightly golden around the edges.
- Allow the crackers to cool completely on the baking sheet before serving.
Notes
For extra flavor, sprinkle a little more salt on top before baking.
These crackers can be stored in an airtight container for up to a week.
Nutrition
- Serving Size: 1 cracker
- Calories: 50
- Sugar: 0g
- Sodium: 100mg
- Fat: 3g
- Saturated Fat: 2g
- Unsaturated Fat: 1g
- Trans Fat: 0g
- Carbohydrates: 5g
- Fiber: 0g
- Protein: 1g
- Cholesterol: 10mg
Nutritional information is an estimate. The nutritional values for your final dish may vary based on measuring differences and products used.